Splitter Analysis (optional)
The optional Splitter Analysis provides a way to sync records with actual field results, so connection discrepancies that may be the result of undocumented changes can be repaired. The process is secured with libraries and graphical display, limiting the risk of errors.
Process
A connection from the FX120 OLT port to a free port (any) on the Splitter Panel allows the FX120 to monitor a copy of all signals happening on all ports. The test set listens to see if there is a signal (capturing the SSN/PID), no signal, or empty port.
To use the advanced Splitter Analysis feature:
-
Connect one end of the patchcord to the FX120 To OLT port and the other end of the patchcord to any free port on the Splitter panel.
-
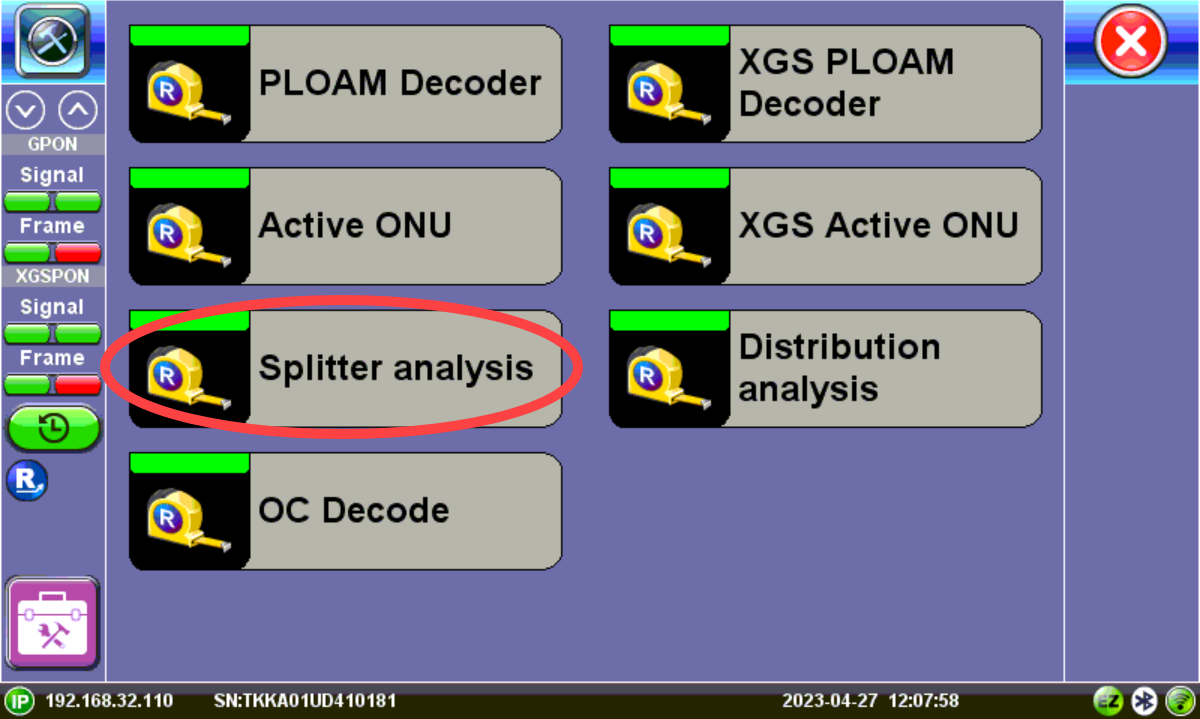
On the FX120, press Tools to access the Advanced menu, and then tap Splitter analysis.
-
After entering a location, select the Panel Type profile being audited.
 If the Panel Type is not listed, speak to your regional sales team about importing a custom profile first before beginning the auditing process.
 -
On the FX120, press Start.
-
On the Splitter panel starting at position A01, disconnect and reconnect the customer ONT port after 1-2 seconds. While the connection is under test three dots
 are displayed.
  Do not disconnect the patchcord to the FX120 at any time so each port signal can be continuously scanned during the audit process.
 -
Wait until a letter is displayed, then disconnect the customer patchcord from the splitter and connect it to the next customer port. If the port is empty, mark it "Empty" until the next occupied port is reached. If the port has a patchcord but no letter, mark the port as "No SN". The FX120 will listen to and collect information associated with that port. It may take up to ten seconds for the OLT/ONT to restart the connection and the FX120 to detect the information exchanged between them.
Check all positions to avoid incorrect information being captured. -
After the scan is complete, press the Stop button to end the test, then Okay at the prompt. This generates a CSV file containing the information collected from the port scanning process, including Rack, Position (Port), SSN (if captured), and/or PON ID (if captured). This file can be used to compare to the PON network database. See Working with Saved Results, Profiles, Images for details on exporting the CSV file.
At any point during the test, a restore point can be set by pressing the orange Save button. The analysis can then be resumed from the point at which it was saved. In the event of low battery or reboot, the unit will automatically create a restore point in which the analysis may be resumed as long as the location and panel type match.

Splitter Analysis
| Description | Action |
| To re-test the previous port |
Press Previous to go back one port at a time. If multiple ports are skipped back, the scan process restarts from that point.
|
| To jump to the next splitter bank (in splitter analysis) |
Press Next Split. The unit will mark all skipped positions in the current splitter bank L (empty) automatically and move to the next splitter bank.
|
|
To jump to the next port (in distribution analysis) |
Press Skip. The unit will move to the next port automatically. |
| If no SSN is detected |
Press No S/N. |
|
If there is no patch cord connected |
Press Empty. |
| To stop analysis |
Press Stop. All ports not analyzed will be marked Empty automatically. |
|
To manually create a restore point |
Press the orange "Save" button. The analysis can then be resumed from the point at which it was saved. In the event of low battery or reboot, the unit will automatically create a restore point in which the analysis may be resumed, as long as the location and panel type match. |
|
To save results to a CSV file |
Press Stop to end the test, then OK at the prompt. This file can be used to compare to the PON network database. |
| Port Position Indicator | Meaning | Action |
| ... | The FX120 is waiting to detect a change in the received signal for that position. | Disconnect and reconnect the patchcord from the port position on the ODP panel after 1-2 seconds. It may take up to ten seconds for the OLT/ONT to restart the connection and the FX120 to detect the information exchanged between them. |
| O | The SSN Serial Number and/or PON-ID has been captured. | No action needed. The unit will move to the next port automatically. |
| N | No SSN Serial Number was detected. | After a few seconds, press No S/N. The unit will then move to the next port automatically. |
| L | Empty port. This could be the default or manually set. When scanning ports for the first time, all positions are L by default because the unit assumes they are all empty. | Press Empty. The unit will then move to the next port automatically. |
| X | Skipped port | If needed, skip a port and recheck later, so no misinformation is collected. |