Software Update Process
-
To download the latest software version, go to www.veexinc.com and use any of the following options:
a) Enter the full product name in the Search box, click on the Software section to expand it, and download the appropriate software installer package.
b) Go to the >Support > Software section and enter the first four characters of the product's serial number, to obtain the software installer package specific to the product.
-
Unzip the downloaded file(s) and copy the file ending in .tar.gz or .tar.xz to the root directory of a FAT32 USB flash drive.
-
Connect the AC/DC adapter to the test set.
-
Turn off the test set and plug the USB into a USB-A to micro-B USB OTG adapter.
-
Connect the USB OTG adapter to the test set's micro-B USB port.
At this point, it is possible to perform a clean or standard software update. Be sure to back up all data prior to performing a clean software update as it will reformat the internal storage and erase all user settings and test results.
|
A clean software update will erase all user settings, test profiles and saved results. Use the USB Memory Browser in the >File Manager to back up all data prior to performing a clean software update. |
-
Clean software update: Press and hold the Save and Power buttons simultaneously.
-
Standard software update: Press and hold the Home and the Power buttons simultaneously.
In both instances, press and hold the buttons for at least 3 seconds, then release.
The unit will automatically locate and load the software file from the USB flash drive. Wait for the upgrade process to finish.
After the software upgrade is completed, go to the Utilities > About menu to confirm the software version.
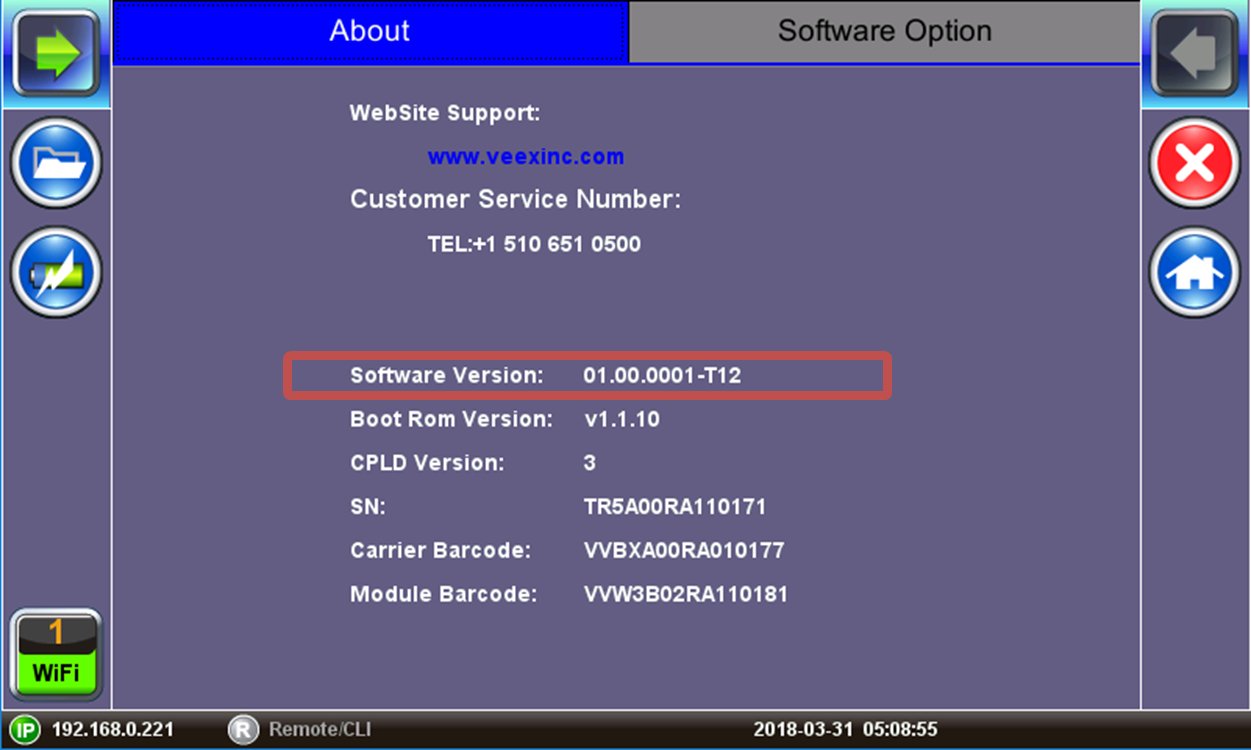
Software Version is displayed in the About section.