Advanced SLA Mode
Using this test function, users are able to verify SLAs while end-to-end QoS is assessed properly. By configuring one primary test stream and up to seven background streams each with independent frame size, bandwidth, and more importantly QoS levels, simulating different service applications is now realized. The Advanced RFC 2544 SLA mode provides detailed visibility of the test parameters for each of the traffic streams being measured, providing an efficient in-depth qualification in a fast and automated way.
To change SLA modes, tap on the SLA button on the right side of the screen and tap OK after selecting an SLA mode.
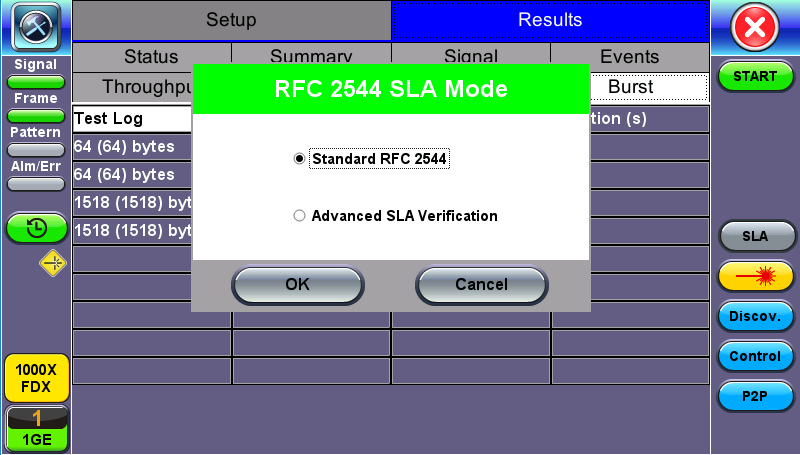
RFC 2544 SLA Mode
Setup
For Header, Frames, Thresholds, Throughput, Latency, Frame Loss, and Burst, refer to Setup - Standard Mode .
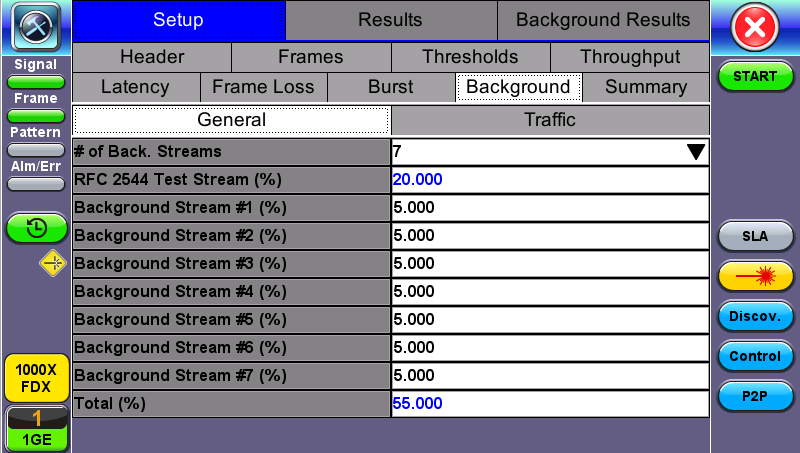
Background - General
- # of Back. Streams: From 1 to 7 streams.
- RFC 2544 Test Stream (%): This is the max rate set in frame loss.
- Background Stream # (%): Allocated Bandwidth per Stream. The total bandwidth for all streams cannot exceed 100%.
- Total (%): Sum of all stream rates in %.
Setup - Background - General Traffic
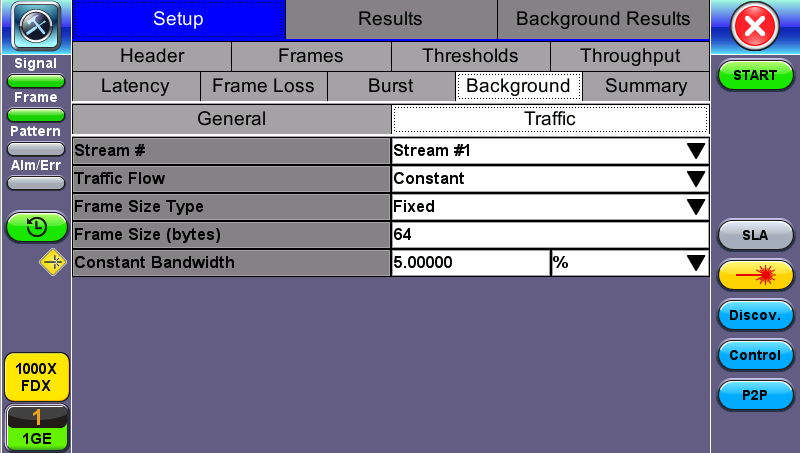
Background - Traffic
- Background Stream #: Select a stream number to configure.
- Traffic Flow: Select from Constant, Ramp, Burst, or Single Burst traffic flow.
- Frame Size (Type): Fixed or Uniform. If uniform is chosen, the user will have to input a minimum and maximum frame size.
- Frame Size (bytes): If a fixed frame size is chosen, this option is enabled. Enter the frame size when a Layer 2 or 3 is selected. Frame sizes can be from 64bytes to 1518bytes, in addition to jumbo frames up to 10k bytes.
- BW (Transmit Bandwidth): Configure the transmit rate for the stream.
 The bandwidth allocation per stream is already configured in the General Settings tab, but can be modified in this screen as well.
Setup - Background - Background Traffic
Starting/Stopping an Advanced SLA Mode
Once all configurations have been made, the user can start the RFC 2544 test (press the Start icon on the top right section of the screen). The following are two scenarios of how to prepare and start the unit for RFC 2544 testing.
![]() If testing on the fiber ports, make sure the LASER is turned On before starting the test.
If testing on the fiber ports, make sure the LASER is turned On before starting the test.
- Far End Unit in Manual Loopback Mode
- If the far-end unit (another MX) is already in a manual loopback mode, do not send a loop up command since it is not necessary
- Once the correct control settings are configured, the user can start the test
The selected tests will run automatically. When all the tests are complete the test will stop automatically. If the RFC 2544 test suite needs to be stopped before they are done, then simply press the Stop button, located in the actions drop-down menu. The status of each selected test can be seen in the Results tab.
- Far End Unit Controlled with Loop Up/Down Commands
- If the far-end unit is not manually looped back, then it must first receive a loop up command from the control unit before the RFC 2544 test suite can be started
- To loop up the far-end unit with the manual mode loop up/down commands, configure the control settings mode to manual
- Enter the MAC and/or IP address of the far-end unit
- Send the loop up command by pressing Loop Up
Once the far-end unit has been looped back, start the test by pressing the Start button. When the all of the selected test are completed, the RFC 2544 test suite will stop automatically. Once all tests have been completed and there is no need to test again, go back to the Control tab, and press the Loop Down button. This will send a loop down command to the far-end unit to remove the loopback that is in place.
![]() If the unit is in Advanced SLA mode, the RFC 2544 test runs simultaneously with the background.
If the unit is in Advanced SLA mode, the RFC 2544 test runs simultaneously with the background.