EZ Remote
The EZ Remote functionality allows users to quickly and securely connect to VeEX test sets all over the world, without the need for VPN, port forwarding or public IP addresses. This VeEX hosted service and user interface take care of all the complex tasks required, and present users with a simple application. Connect online anytime anywhere with any computer, tablet or smartphone, using standard web browser clients for screen-sharing, remote control and access to test results. Use it for remote control, collaboration, technical support or training purposes.
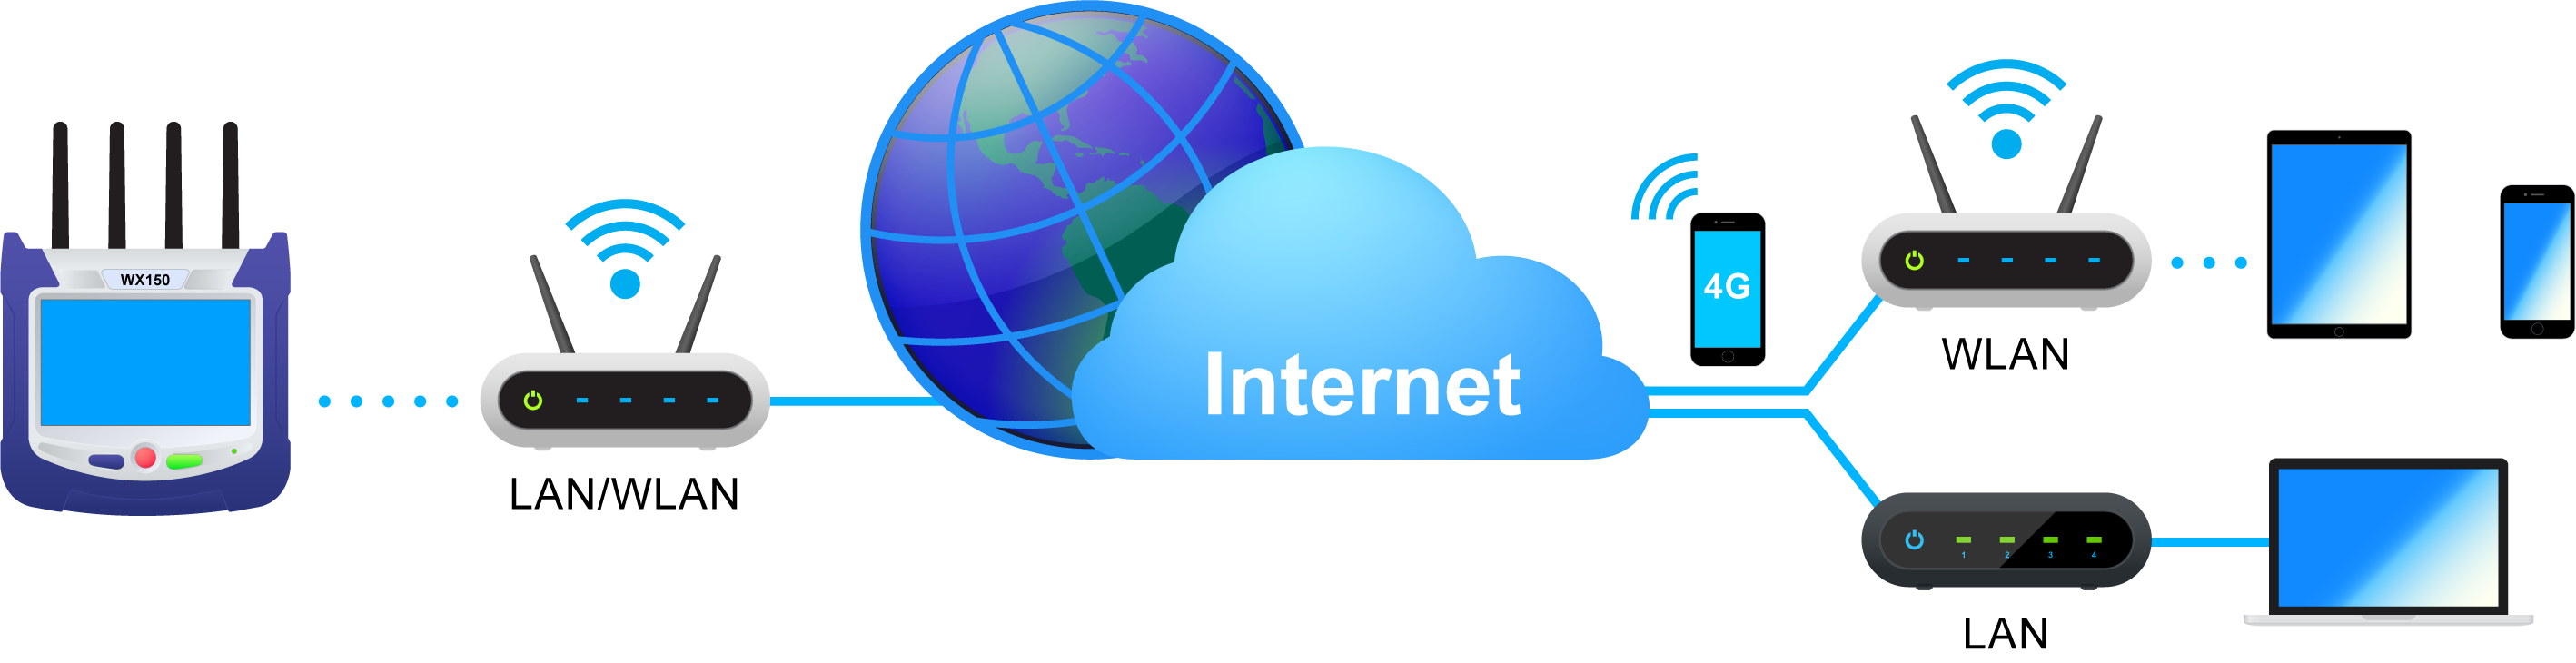
The basic EZ Remote service is offered by VeEX free of charge. It provides public registration servers to help users and test sets establish remote sessions, without having to get IT departments involved. All you need is internet access for the test set and a remote user. Feature location and functionality may vary from product to product.
VeEX’s EZ Remote provides:
- Remote Control functionality to give users full control of remote test sets (screen mirroring and control).
- Remote Access functionality allows users to View, Download, Rename, Delete, Export and Convert results (PDF).
![]() EZ Remote is considered a convenient on-demand service, for quick/temporary collaboration tasks. It should not be used for long-term applications (VeEX offers other remote tools for long-term applications).
EZ Remote is considered a convenient on-demand service, for quick/temporary collaboration tasks. It should not be used for long-term applications (VeEX offers other remote tools for long-term applications).
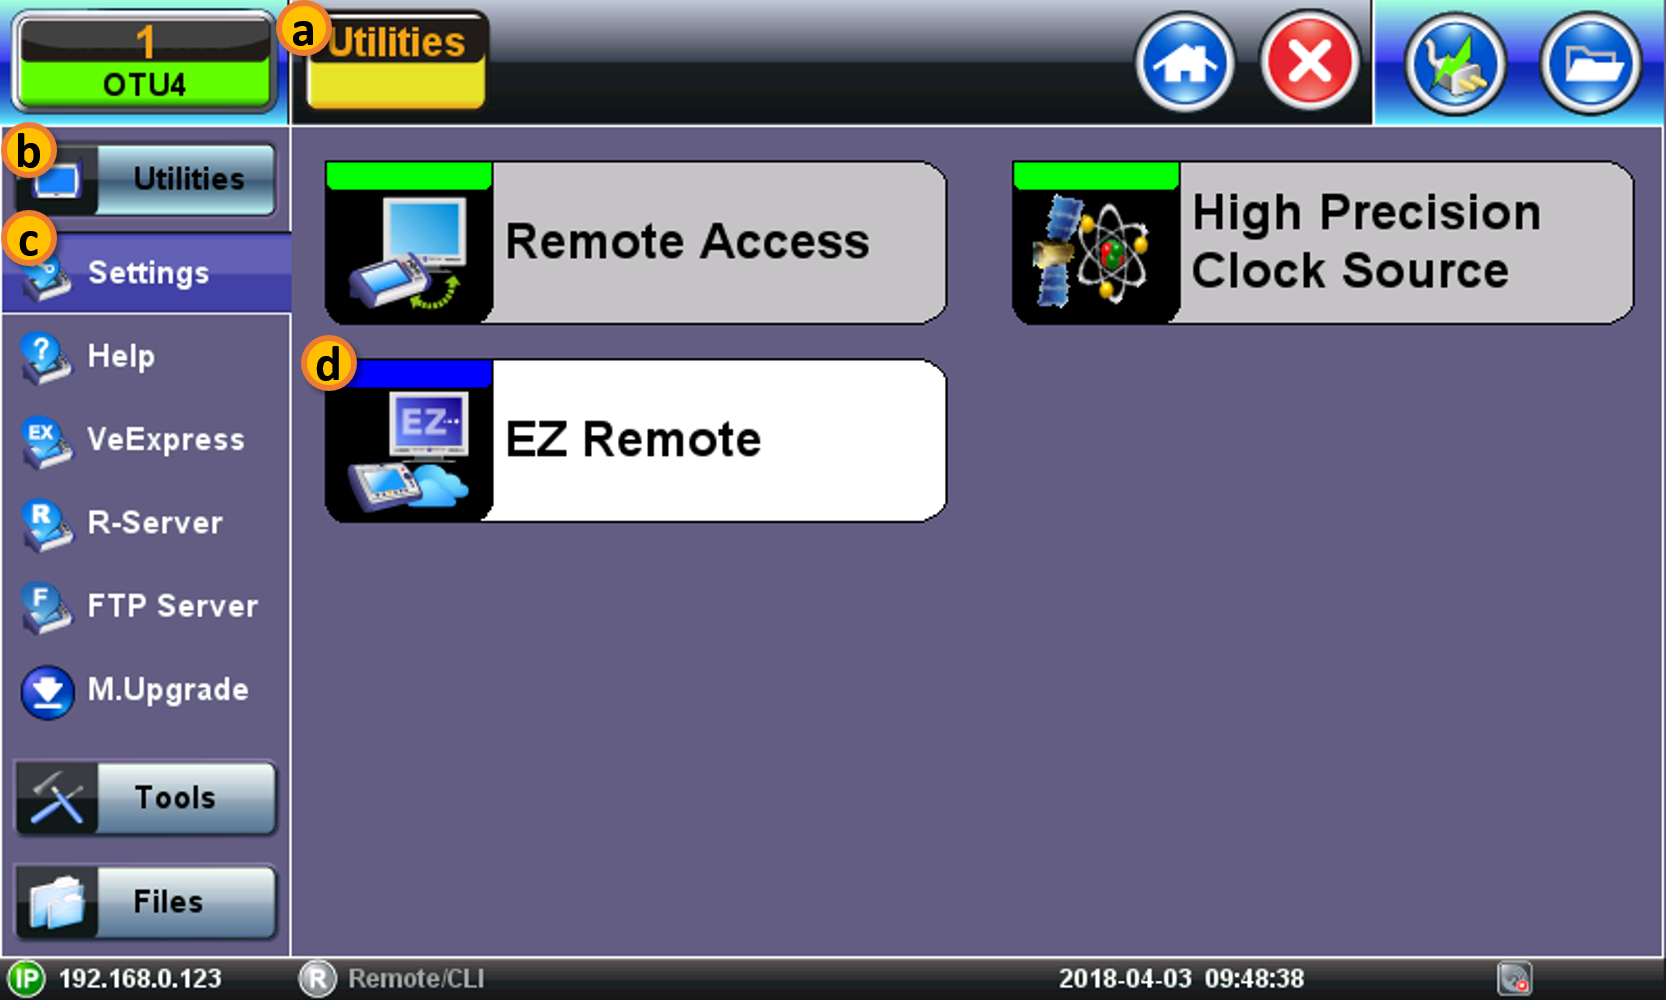
Initiate an EZ Remote Session from the Test Set
-
-
-
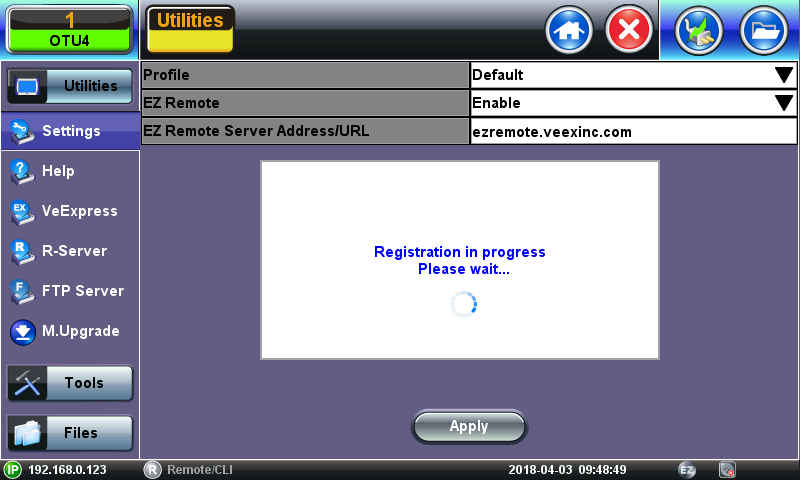
On the EZ Remote screen, set EZ Remote to Enable, confirm the URL is ezremote.veexinc.net (without www.), and tap on Apply to connect and establish a session with the EZ Remote server.
-
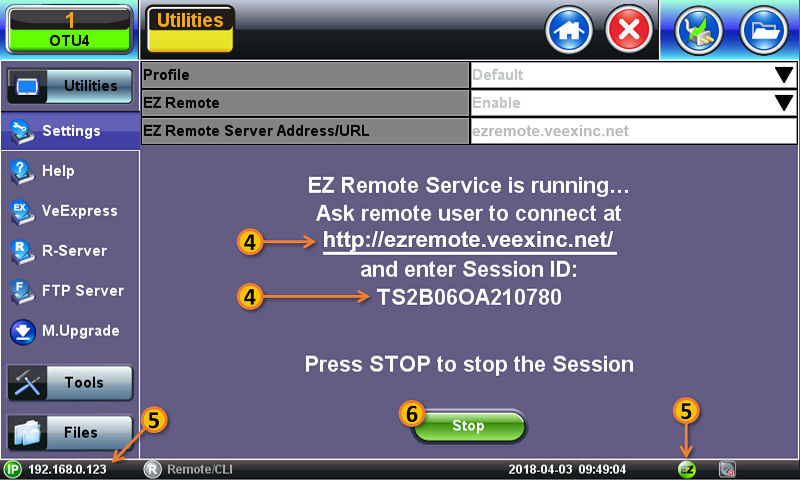
Provide the resulting URL and Session ID to the intended remote user.
-
You may continue to use the test set until a remote user logs in, then both will share control over the unit. Make sure the test set remains connected to the LAN/WLAN/Internet and that the EZ remote session indicator at the bottom of the screen stays green.

- When finished, use the Stop button to terminate the EZ Remote session and disconnect from the server.
Connect to the Remote Test Set from a Computer, Tablet or Phone
Establish a Remote Access Connection
EZ Remote provides two types of services:
- Remote Control (screen and mouse/touch mirroring) to operate a test set from a different location.
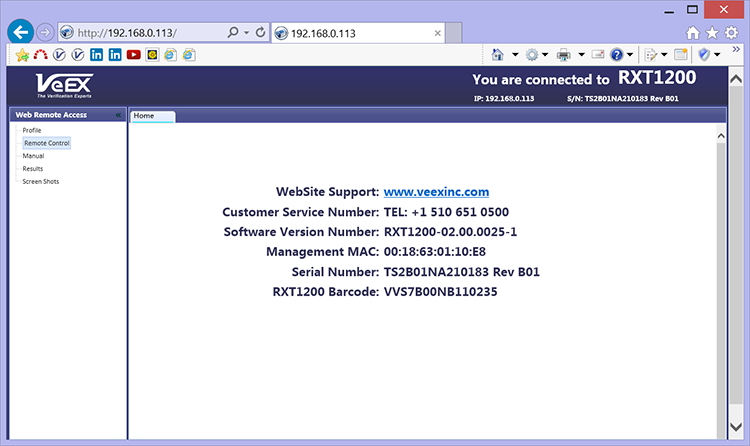
- Remote Platform Access to access information stored in the remote test set, such as Test Results, Profiles, User Manual, Screen Captures (screen shots), information about the test set (Home) and its local IP address.
![]() Although multiple users could simultaneously log-in to the same test set, they would be sharing the same mirrored GUI image and mouse control. This is not recommended since it is equivalent to having multiple users trying to operate one test set at the same time (also known as “mouse fight”). Nonetheless, it may be effective for training purposes with one or two extra users.
Although multiple users could simultaneously log-in to the same test set, they would be sharing the same mirrored GUI image and mouse control. This is not recommended since it is equivalent to having multiple users trying to operate one test set at the same time (also known as “mouse fight”). Nonetheless, it may be effective for training purposes with one or two extra users.
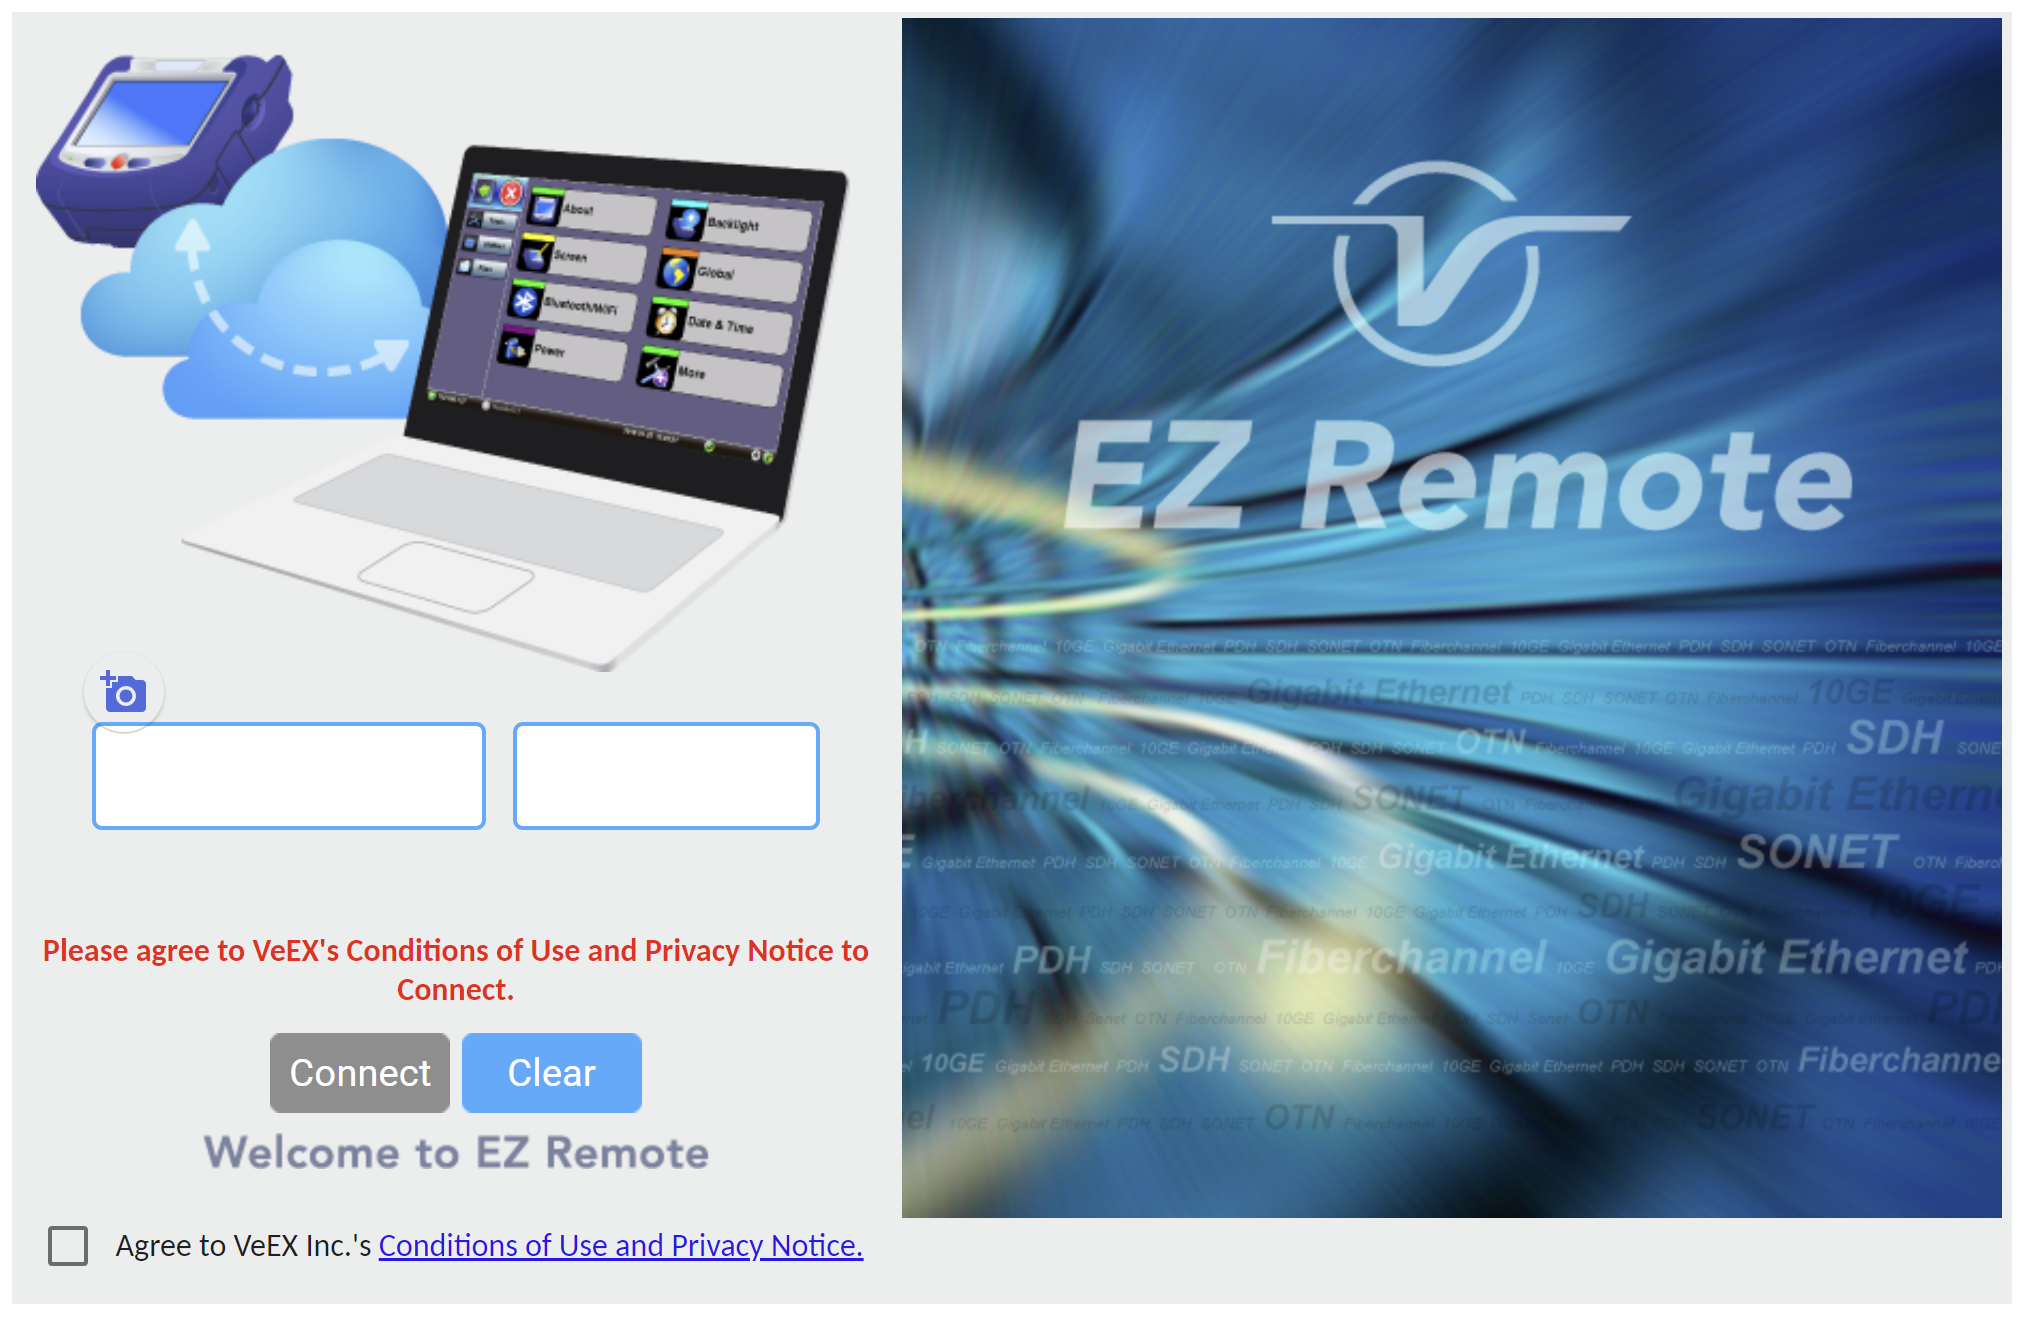
- From a PC, Mac, Tablet or Smartphone launch an industry-standard Web Browser application and enter the URL http://ezremote.veexinc.net (without the www.). Enable pop-ups for your browser and be sure to authorize access to the site, if confirmation is requested by the browser or OS.
- Enter the Session ID provided, making sure not to confuse zeroes (0) with Os. Click Search to find the target test set and stablish a peer-to-peer connection.
-
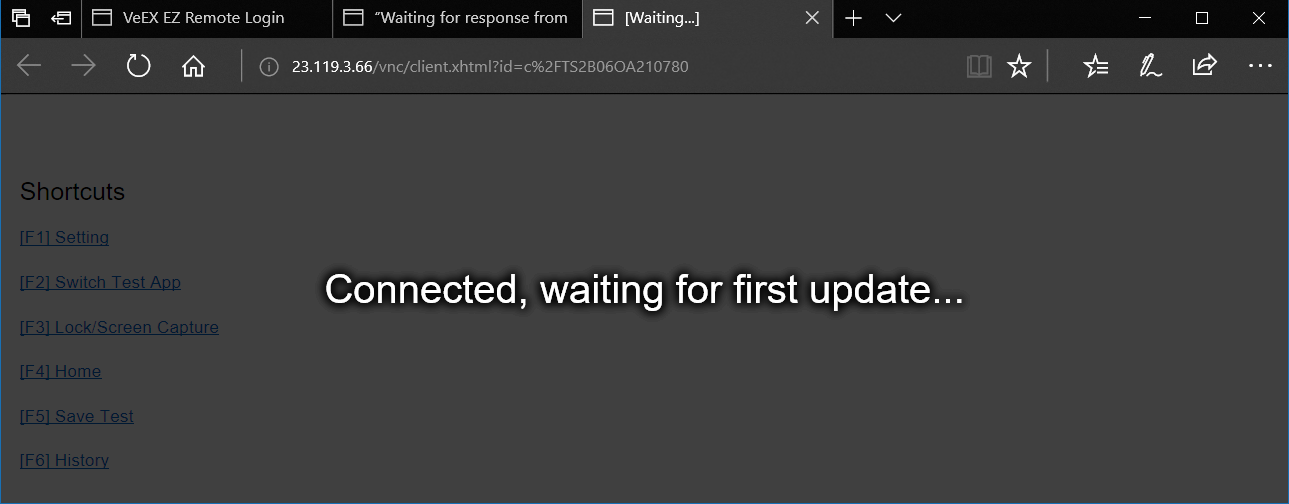
Once verified and connected, wait for the remote user interface to refresh. This may take a few seconds.
-
-
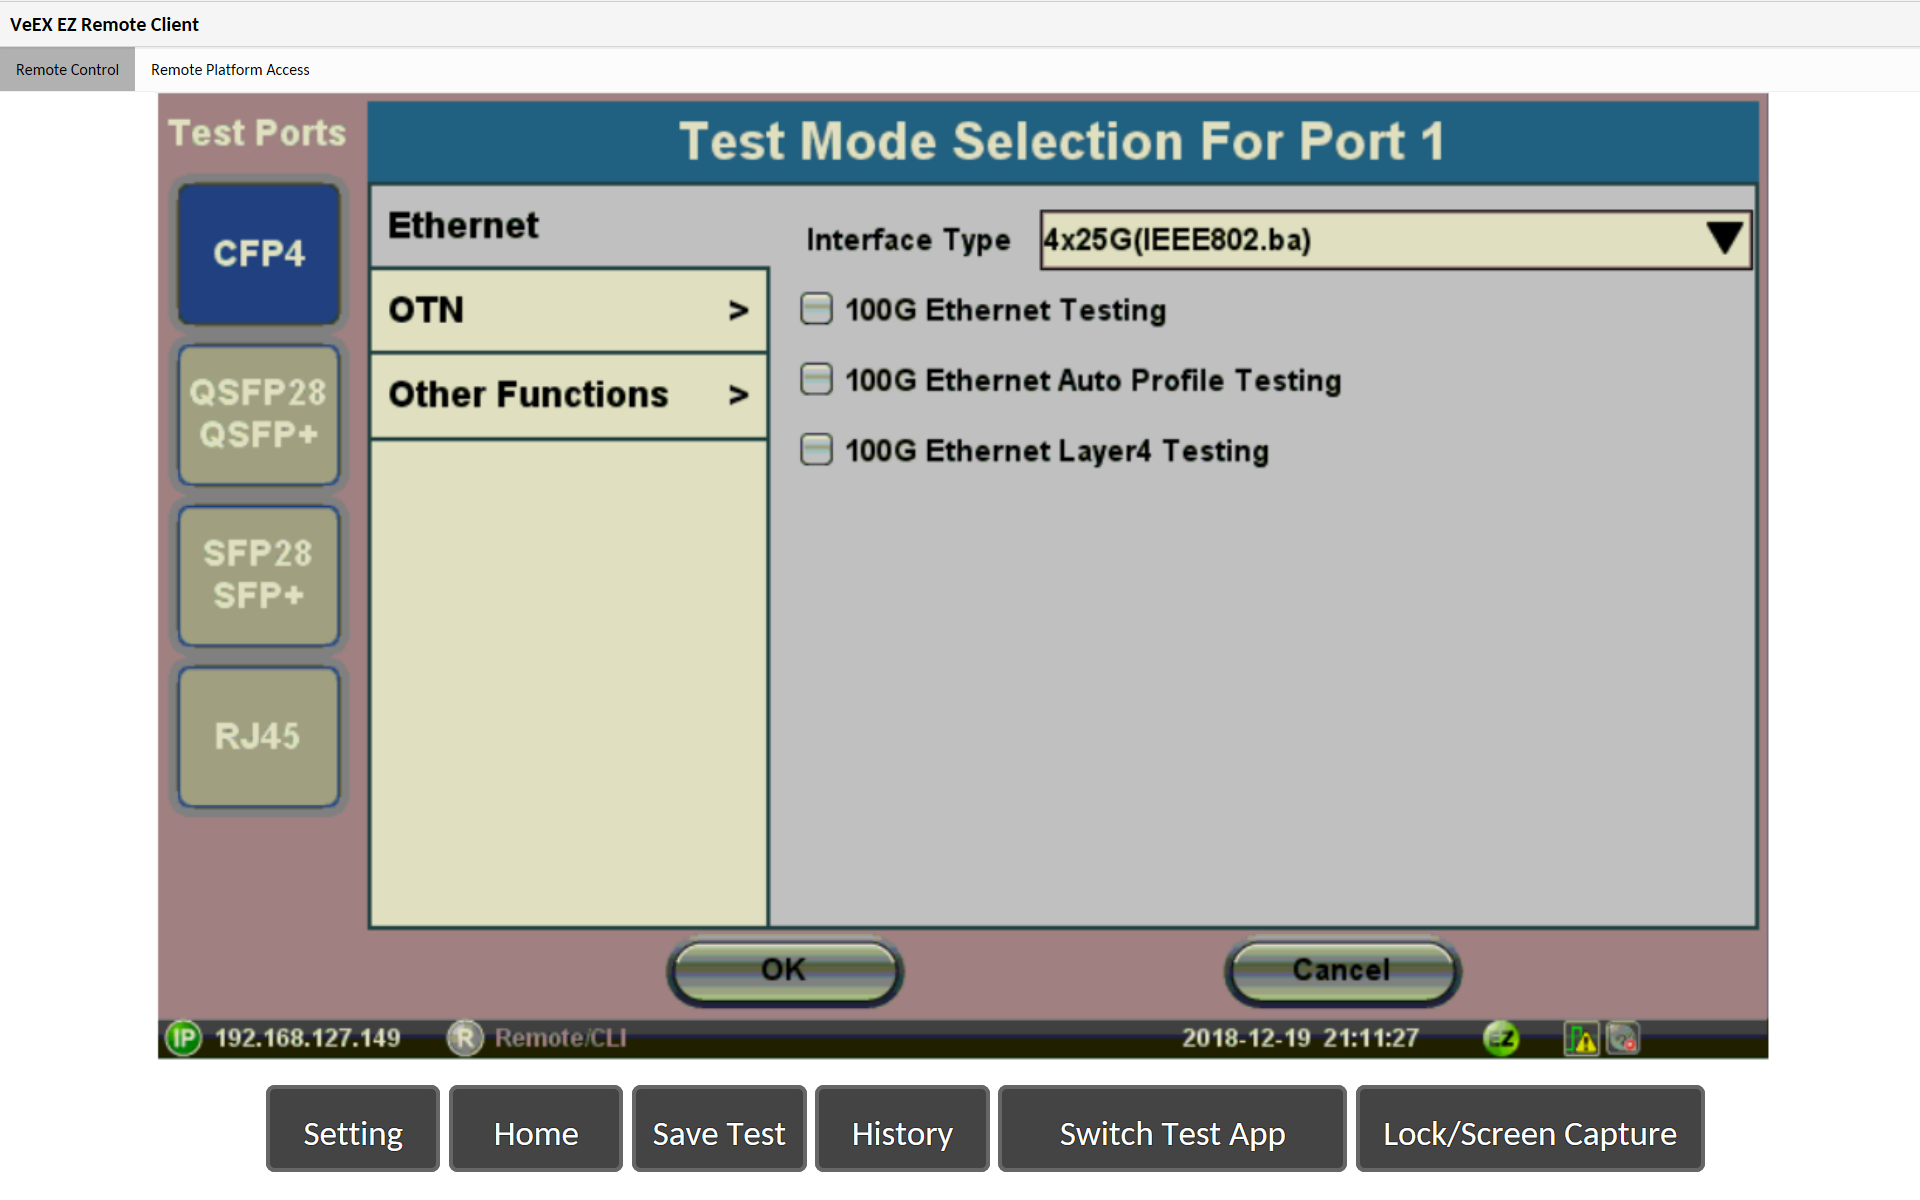
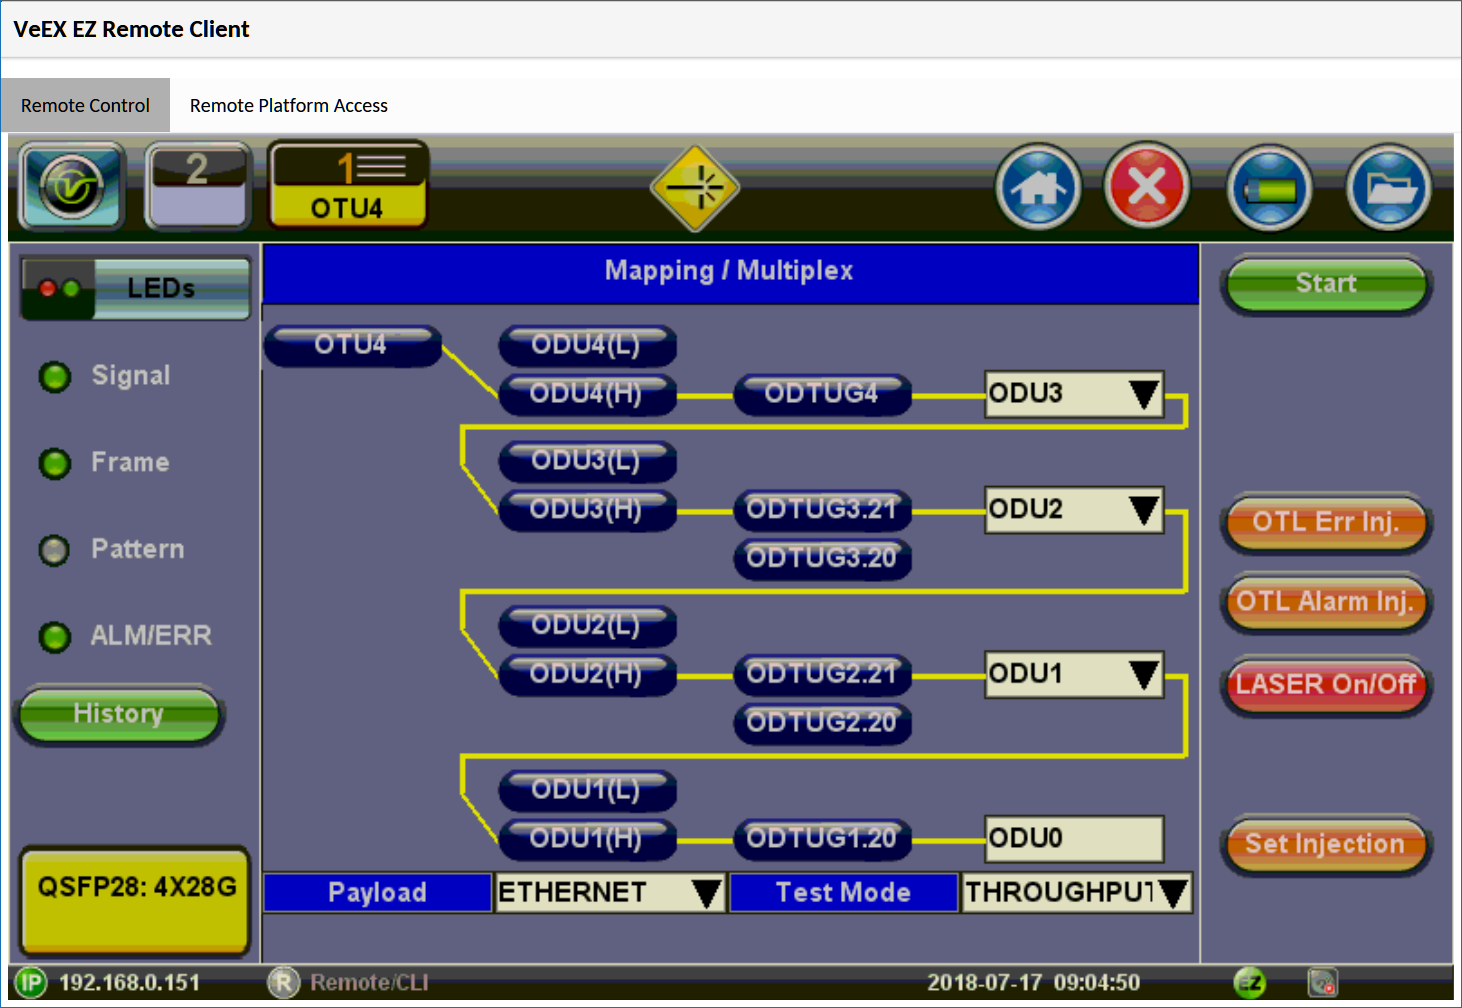
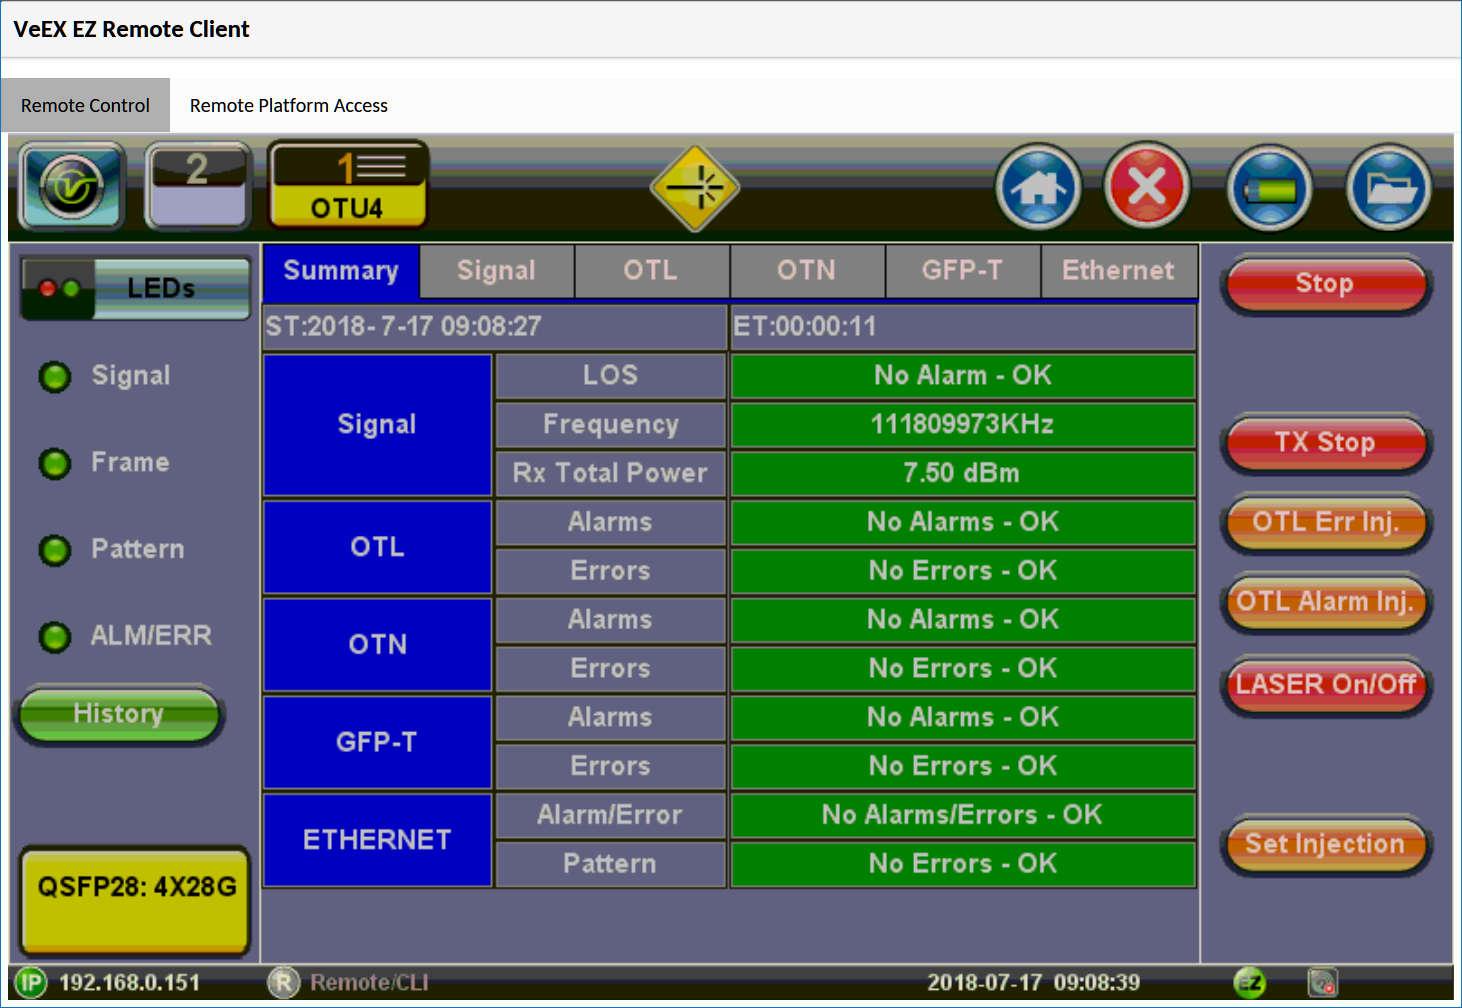
Once the remote GUI appears, you can use the Remote Control tab to operate the test set in the same way you would control a local unit from its touch screen.
Save Test Results
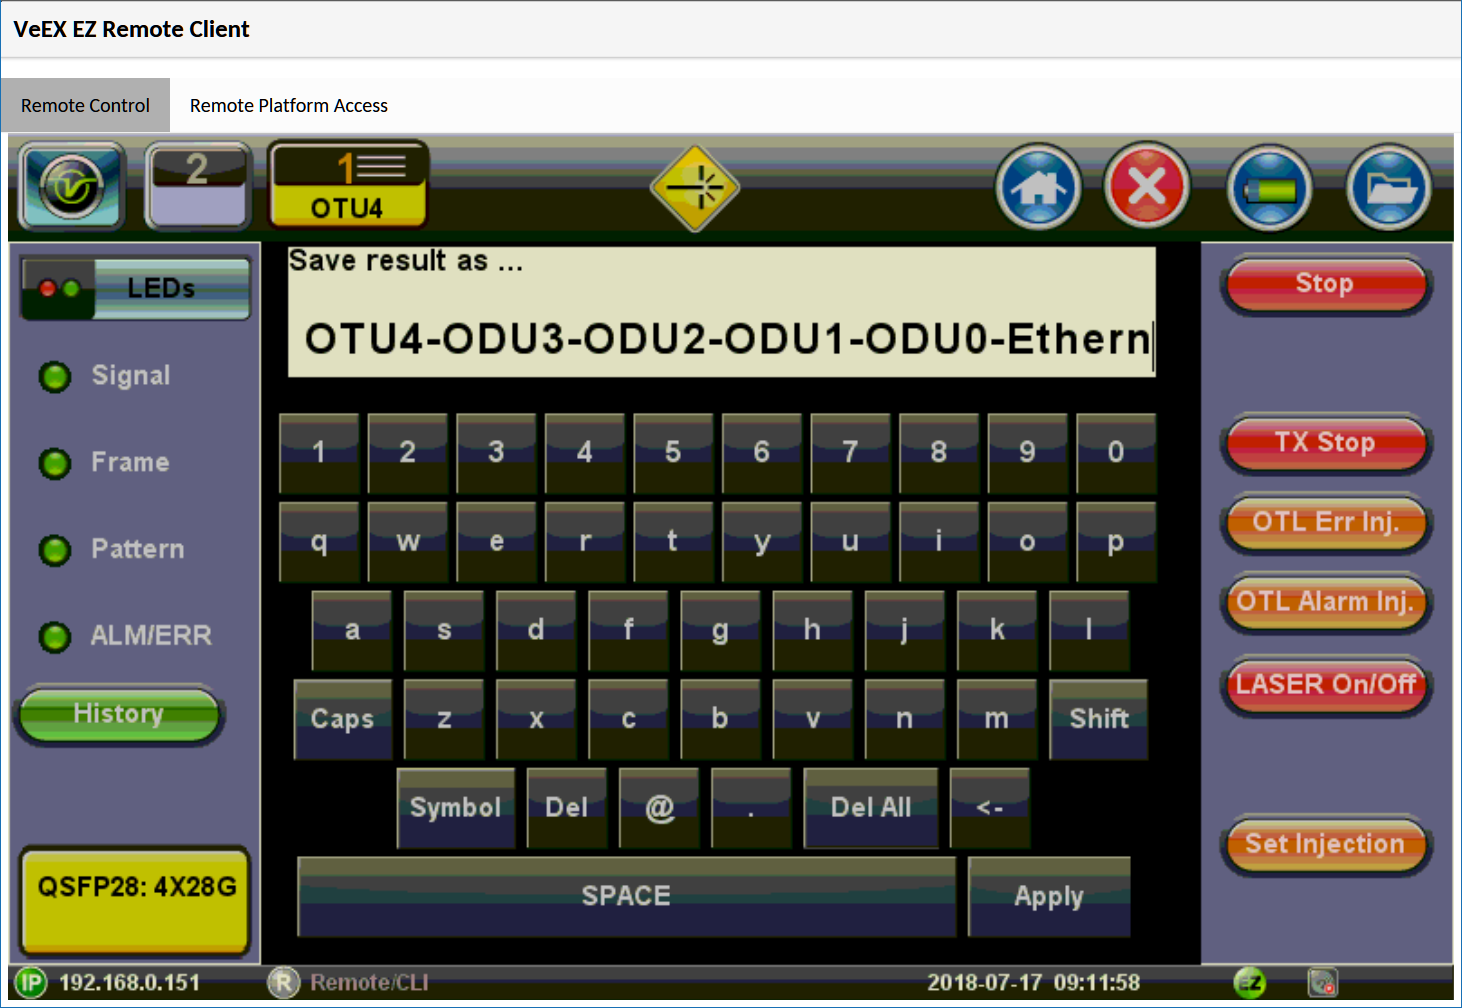
To save the results of a test, from the remote computer, press the Save button below the screen image. Then use the pop-up keypad and/or the PC keyboard to enter the file name and add any extra details (if Advanced Save is enabled).
Access Remote Test Result Files
The Remote Platform Access tab provides links to access test results, test profiles, screen shots, the user manual and other information stored in the test set.
After accessing the test set remotely, a tab will open up for each selection made, allowing for quick access to each function.
Profiles
Test Profiles are configurations saved by the user that can be retrieved and reapplied to the test set. For example, commonly used configurations and test limits/thresholds can be saved as test profiles, for different types of services.
Manual
The feature provides access to the user manual that is built into the test set. In this application, the use of a local copy of the PDF file is recommended as the PDF client in the local computer is most likely faster than accessing the remote one and may offer better tools and function, including search capabilities. User manuals can be downloaded from the Product Resources page on the VeEX Inc website at resources.veexinc.com.
Results
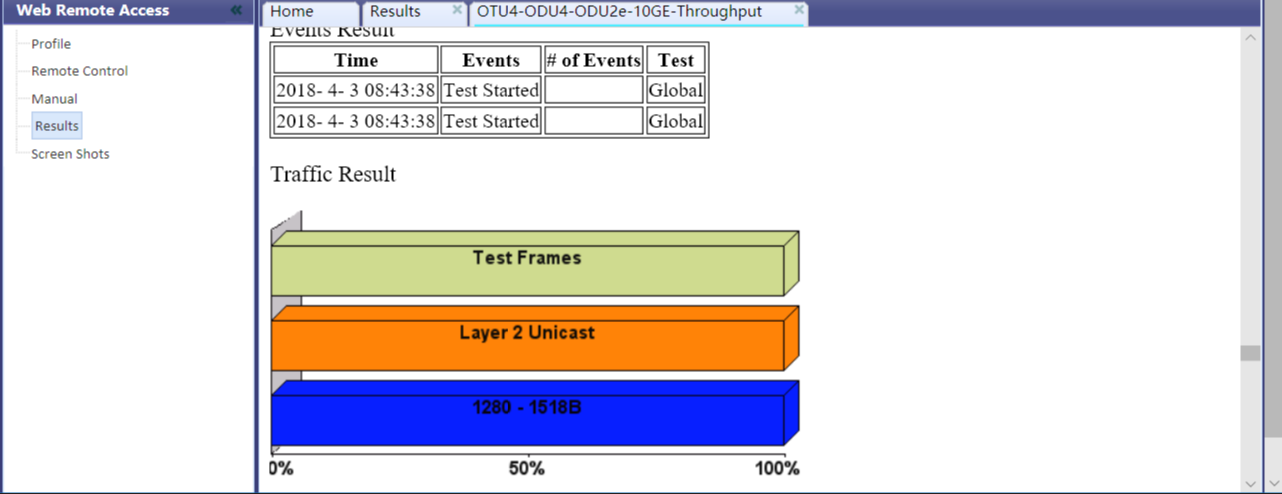
Results list all the test results files currently stored in the remote test set. Users can View, Rename and Delete files stored in the remote test set, as well as Download selected files to the local computer or convert them to PDF and download.

To open a test results file, select it from the list and tap on View.

Files can be downloaded by clicking on Download (original file format) or PDF.

Screen Shots
Pictures (PNG) taken of the screen can be accessed from this link and sub-tab. Pictures can be viewed or downloaded to the local computer.
Screen captures can be made using the Lock button (Ï) on the test set or from the remote computer, using the links provided or the respective F-key on the computer’s keyboard.
The screen capture function can be enabled in >Utilities >Settings >Global >Save Settings.