V-Scout
V-Scout™ is an innovative OTDR trace optimization feature that utilizes various pulse widths during testing to deliver highly accurate results and enhance event identification. It presents events in the form of intuitive icons accompanied by essential data. Along with the link map visualization, the intuitive interface significantly reduces the risk of misinterpretation when reading test results. The V-Scout test mode is an add-on (paid) license for any of the OTDR models, with the exception of VeEX PON-optimized OTDRs which include V-Scout test mode at no extra cost.
In addition to the default factory test profiles, V-Scout test plans can be created to further optimize the V-Scout automated testing feature. Unique profiles can be created for specific test environments, depending on network type or application (e.g. PON, Access Fiber, FTTA test plans). These auto test profiles evaluate separate test acquisitions comprising of multiple wavelengths to detect anomalies. Traces are analyzed, compared, and merged into a single symbolic link map. Multiple OTDR trace files (.sor) are saved in a single file folder for simplified archiving and easy future analysis. The custom profiles can be distributed by email
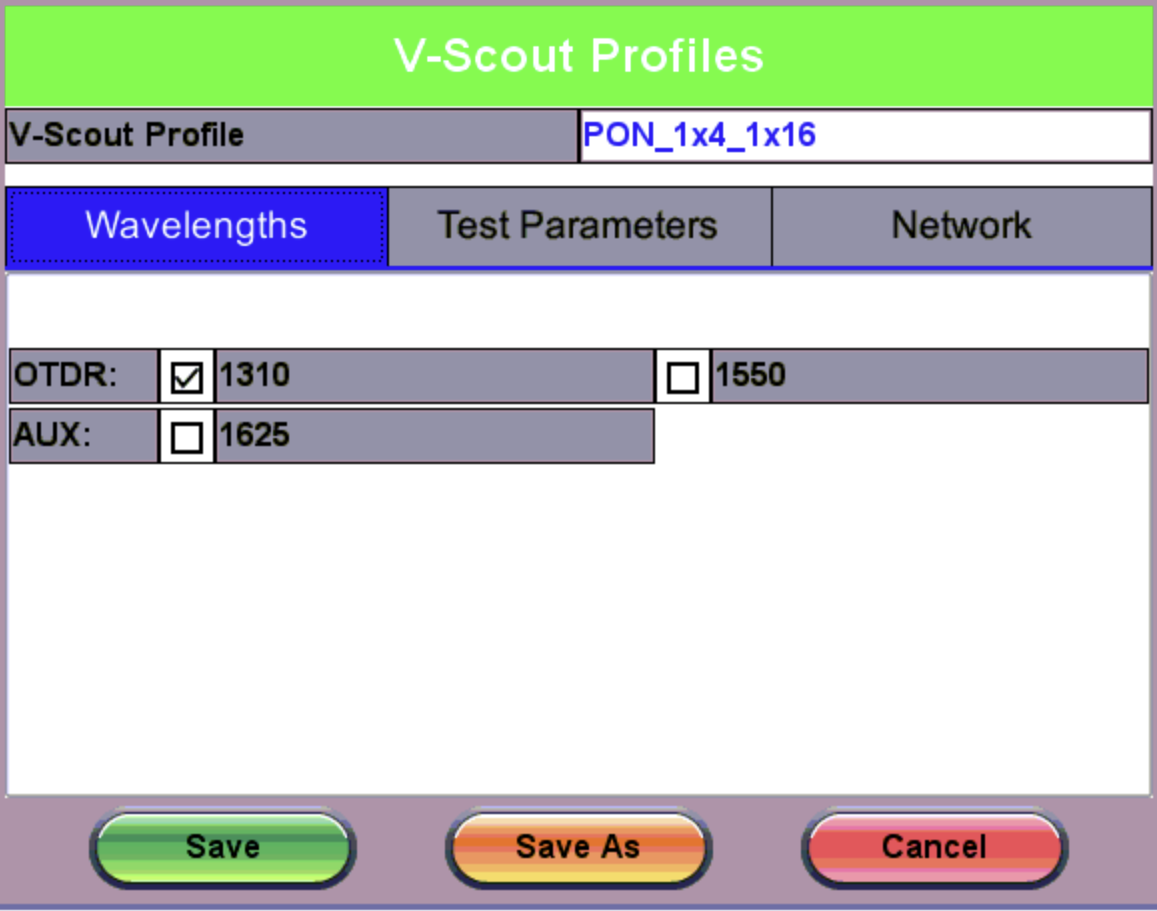
Selecting the V-Scout profile will apply the test plan using that profile for every fiber test automatically. When the V-Scout Mode is selected as a Test Parameter, wavelength options are greyed out. Specify wavelengths on the V-Scout Profiles screen (shown below). The wavelengths you assign to the profile are selected for the Test Parameters for the V-Scout Profile automatically; however, Pulse Widths (PW) must be selected AND enabled on the profile screen.
V-Scout Profiles
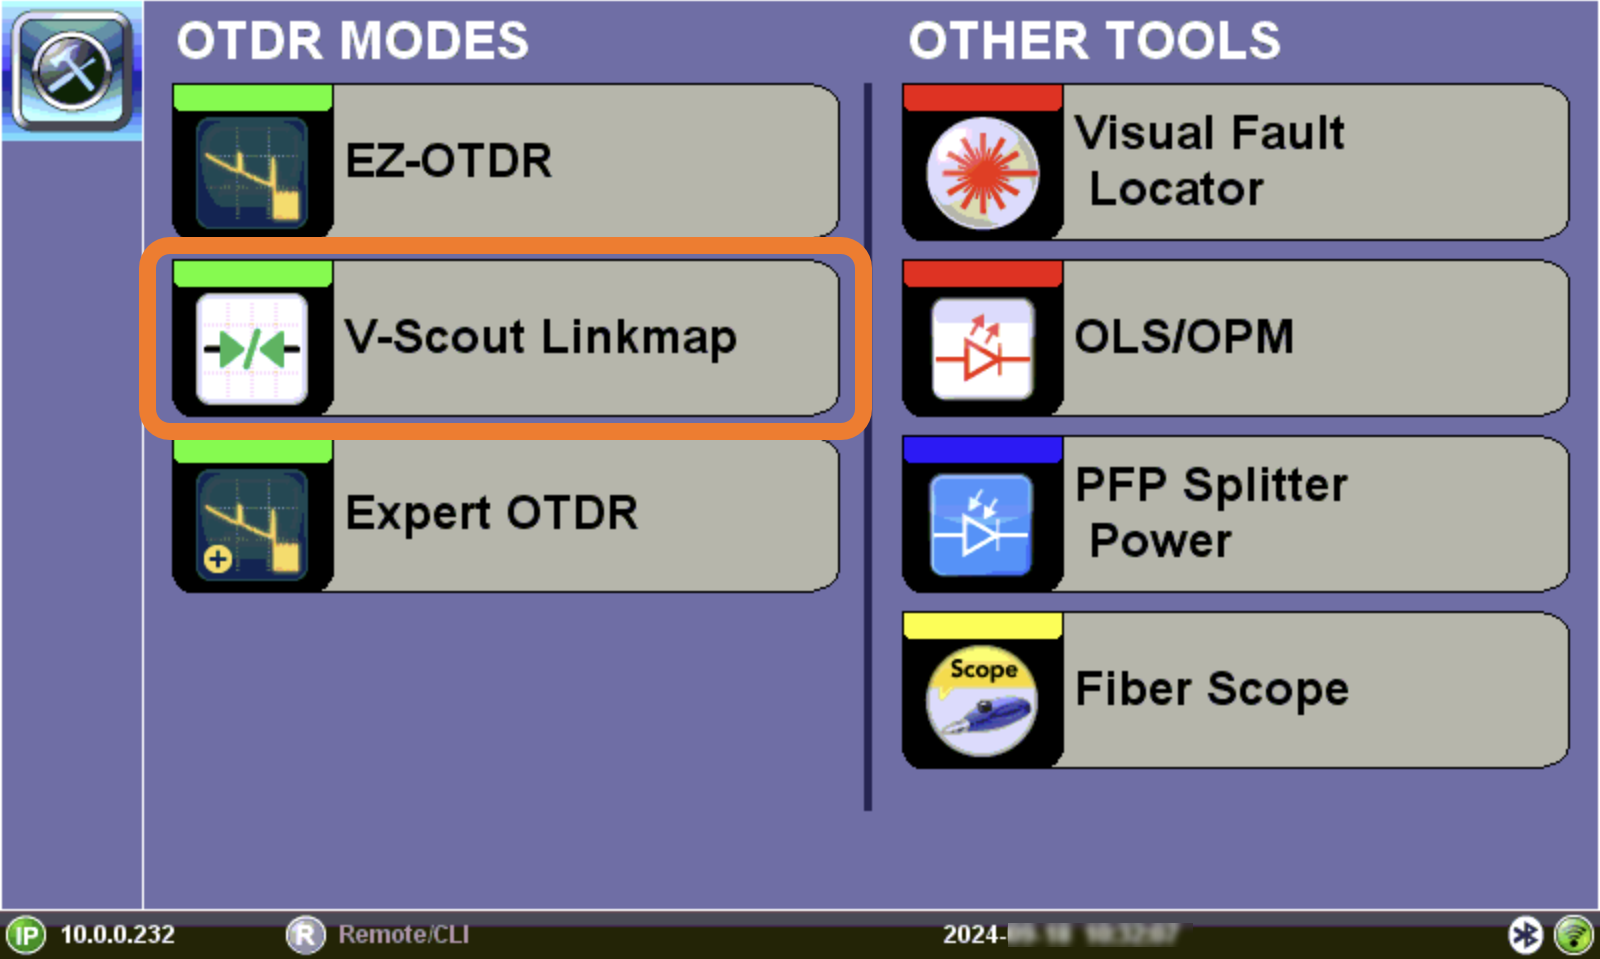
Using V-Scout Mode
V-Scout mode can be accessed by selecting V-Scout in the Mode drop-down of the Setup screen.
To setup or modify V-Scout custom profiles:
-
After selecting V-Scout mode, on the Setup screen, tap the V-Scout Profile drop-down to see the Load Profile File screen.
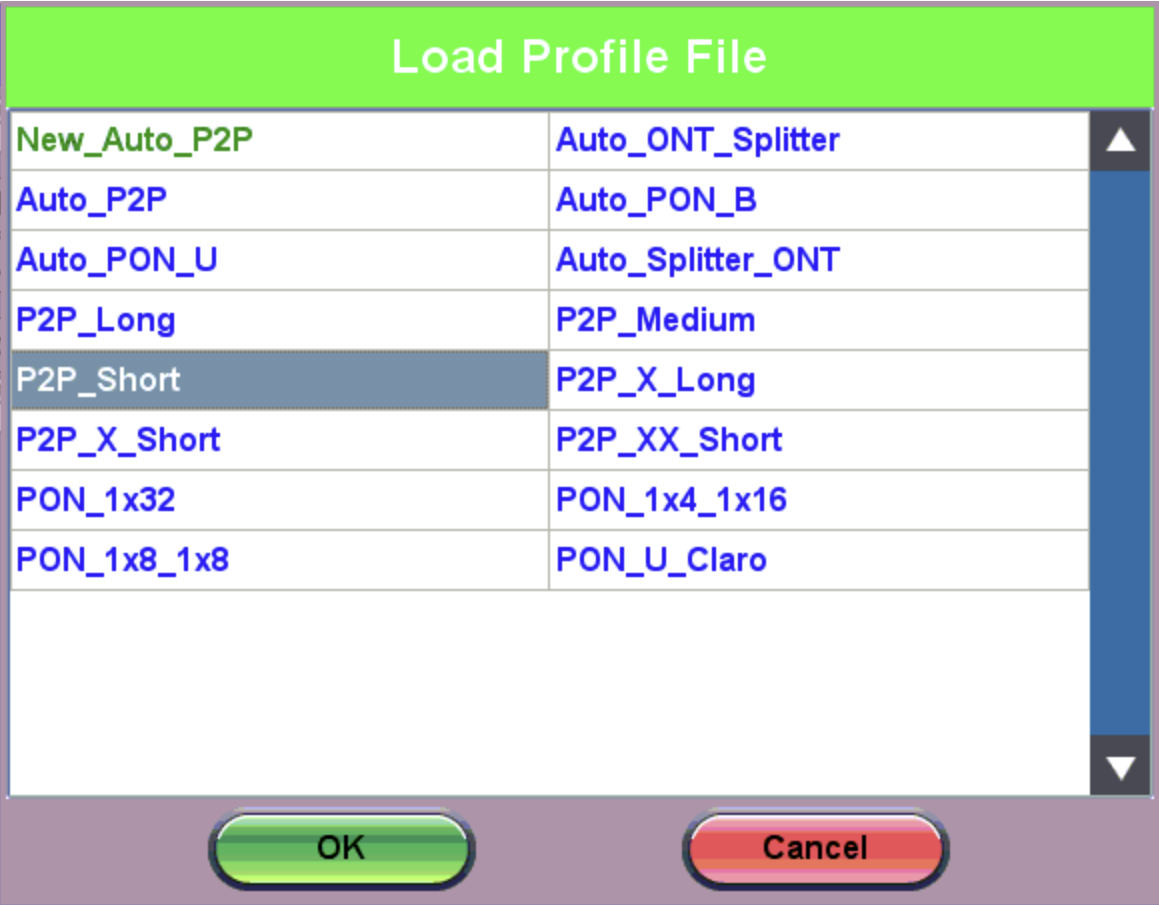
Load [V-Scout] Profile File
-
Select a profile to modify and/or base the new custom profile, and tap OK.
 Selecting an Auto profile will use single pulse/wavelength only.
 -
On the Setup screen, tap the pencil icon
 next to V-Scout Profile. The V-Scout Profiles screen for the selected profile shows configured settings.
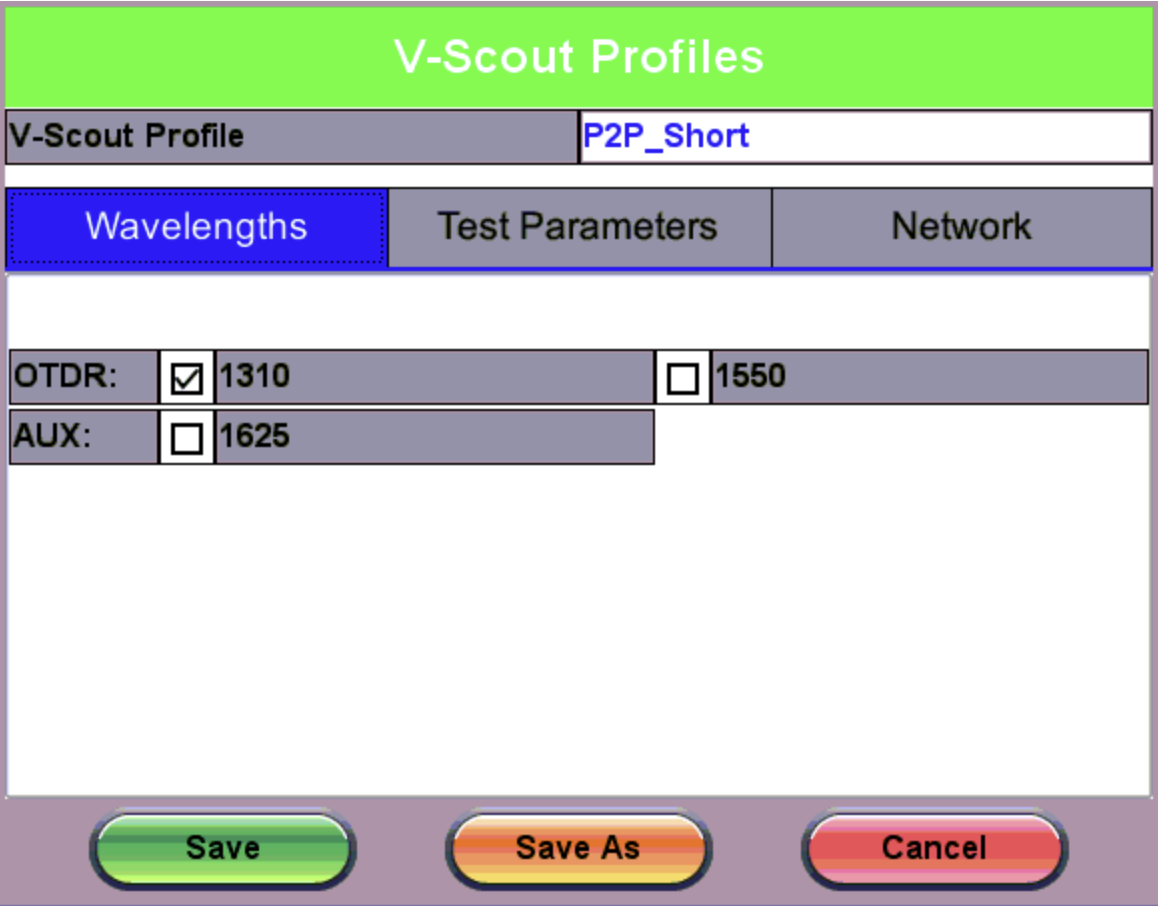
V-Scout Profiles screen for the selected profile
-
To modify the existing profile, adjust the wavelength and/or pulse width and tap Save.
--OR--
To create a new profile, tap Save As. Enter a new profile name and tap OK.
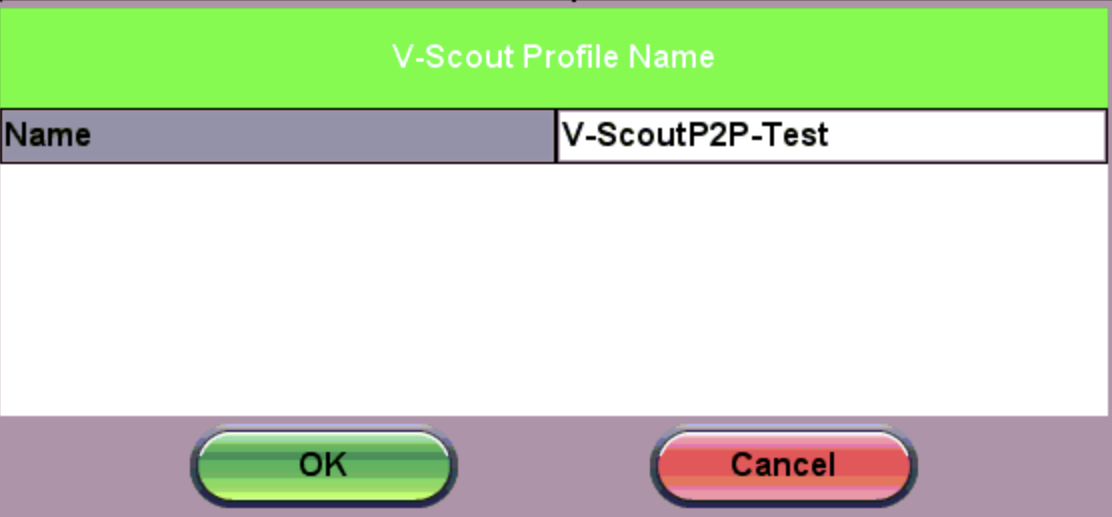
V-Scout Profile Name
The newly created V-Scout profile now appears on the Setup screen as the selected profile.
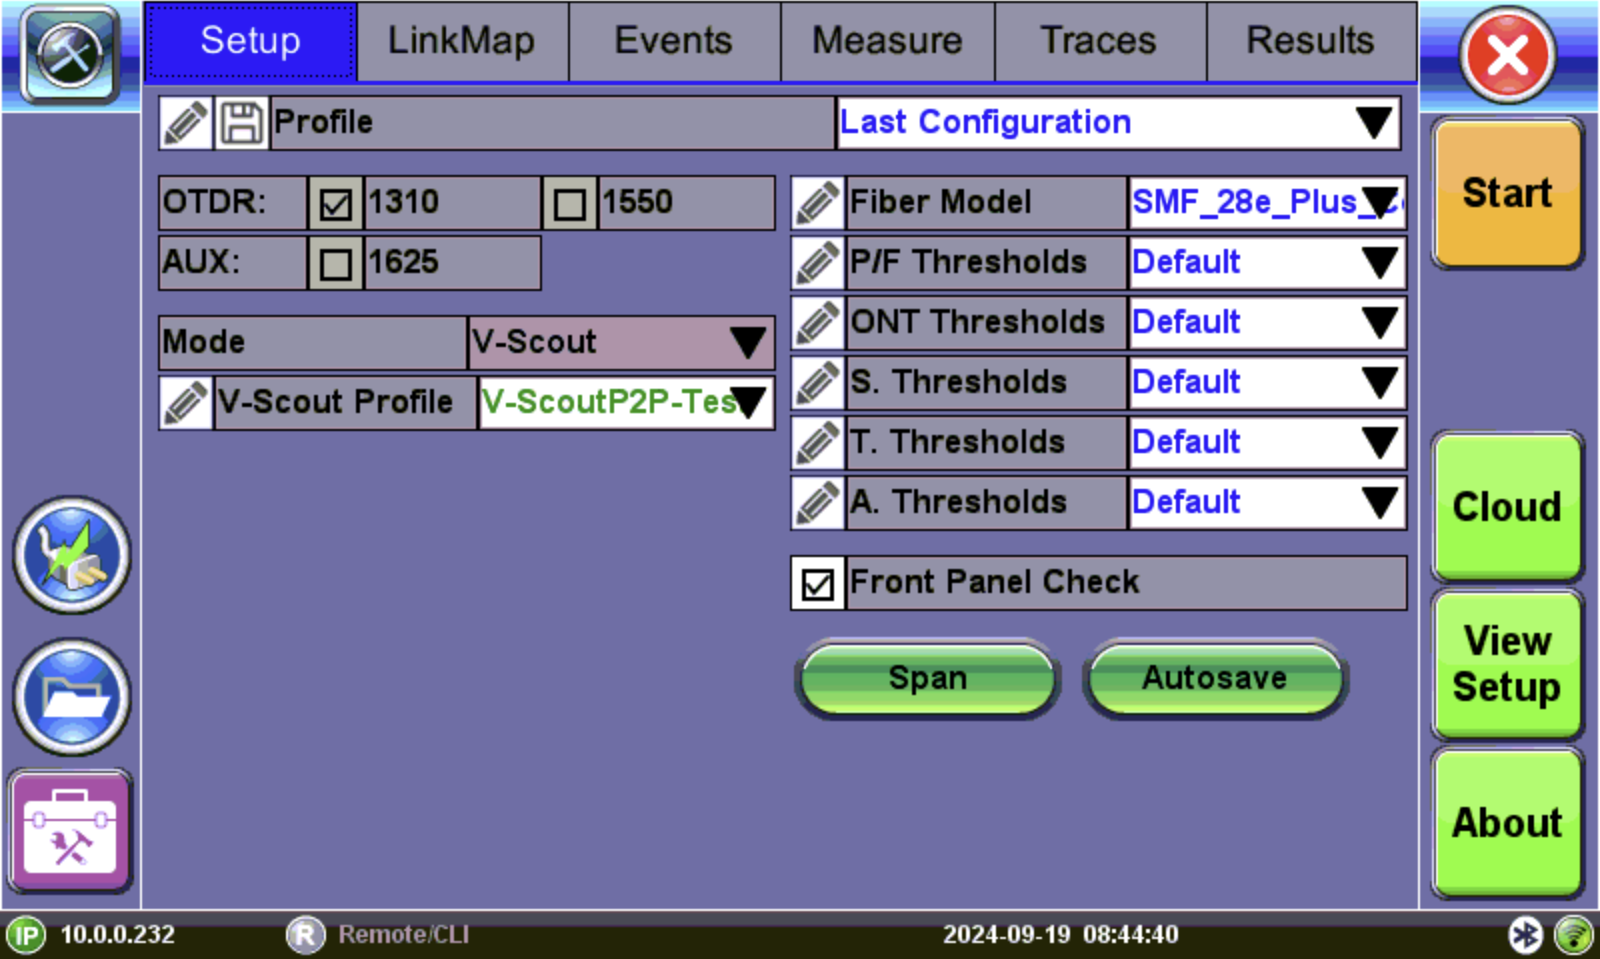
OTDR Setup Screen: V-Scout Profiles mode
-
On the Setup screen, tap the pencil icon
next to the newly created profile. -
Configure the new V-Scout profile using the information below, then tap Save to accept the changes or Cancel to not accept the selections.
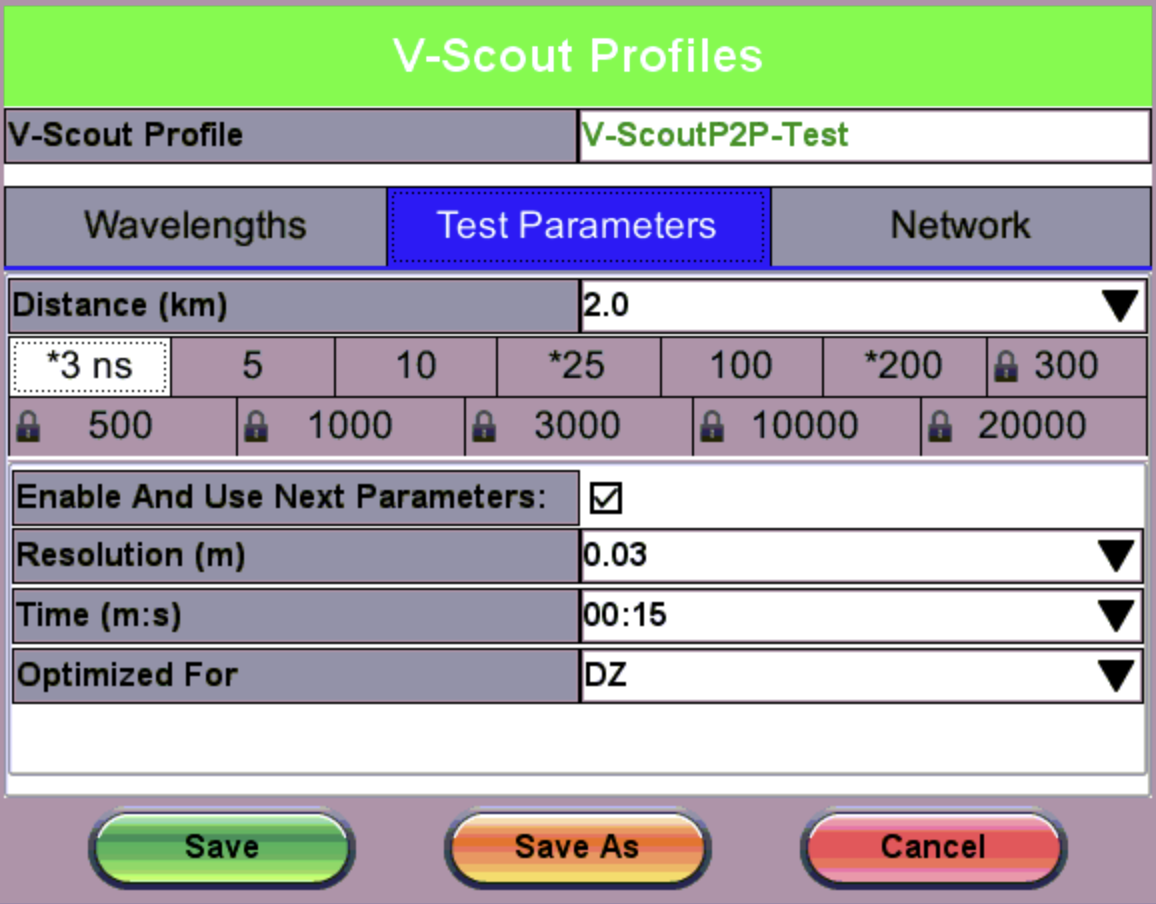
Settings for newly created V-Scout profile
-
Wavelengths: OTDR - 1310 or 1550; AUX: - 850, 1300, or 1625
-
Test Parameters
-
Distance: Select the length and pulse. Select a test range value 25-30% longer than actual length of test fiber. Select 1-10 pulsewidths that you wish to use to build V-Scout link map. An asterisk will mark any Pulse Width that you have already selected for use in your new test plan.
-
Pulse Width: Select pulse width for test.
Pulse Widths (PWs) must be selected and enabled for both custom and default profiles. A profile allows up to 10 PW per wavelength.
-
Enable And Use Next Parameters: Check this to enable this profile and use test parameters set on this screen.
-
Resolution: Auto, high value, or low value, depending on distance range
-
Time (m:s): Select the time to use in each test. (The more pulsewidths, the longer the total test time will be).
 For record keeping, using short test times is not recommended. Bellcore recommends up to 3 minutes per test.
-
Optimized For: DR, DZ, or Automatic DR/DZ
-
Network
-
PON Type: P2P (Point-to-Point)- Not a PON, PON/B (Balanced), PON/U (Unbalanced), Splitter to ONT, ONT to Splitter.
Refer to Thresholds for more information about the following network fields:
-
Splitter Type Detection (if PON/B selected): Auto or Manual
-
Number of Splitters (if PON/B selected): 0, 1, 2, or 3
-
Number of Taps (if PON/U selected): up to eight taps
-
Taps and Drops (if PON/U selected)
-
-
-
7. Tap Save to accept the changes or Cancel to not accept the selections.
To set up and use the automated V-Scout mode:
-
Select the Autosave parameters in the Setup tab. Refer to Autosave Parameters for details.
-
Tap the Start button. Elapsed time and acquisition wavelength are indicated below the Stop button.
-
When the test is complete, the Stop button will revert back to a Start button. If needed, tap Stop to terminate the measurement manually.
-
If Autosave is enabled with Ask Before Save checked in the Autosave Parameters screen, a Result AutoSaving window appears asking if the results should/how be saved. If Ask Before Save was not checked, results will be saved automatically using the parameters previously set for AutoSave.
-
After saving results, a screen with a QR code appears. To view the test report via mobile device, scan the QR code with the mobile device’s camera. Otherwise, tap OK. Refer to OTDR Test Reports for details on viewing test reports.
-
When the V-Scout test plan is complete and OTDR traces performed, view the V-Scout link map on the Link map tab.